Higher precision than stated by manufacturer
10 May 2024
Vse Promyshlennye Regiony Rossii magazine No. 2‑2024
 In mid-March, Pumori-Engineering Invest received an inquiry from a leading company in Russia’s innovative-technology mechanical engineering.
The customer needed U400 five-axis machines with a tilt-rotary table for accurate machining. The required precision was comparable to that stated in the technical data of the machine that we had delivered to that company last year.
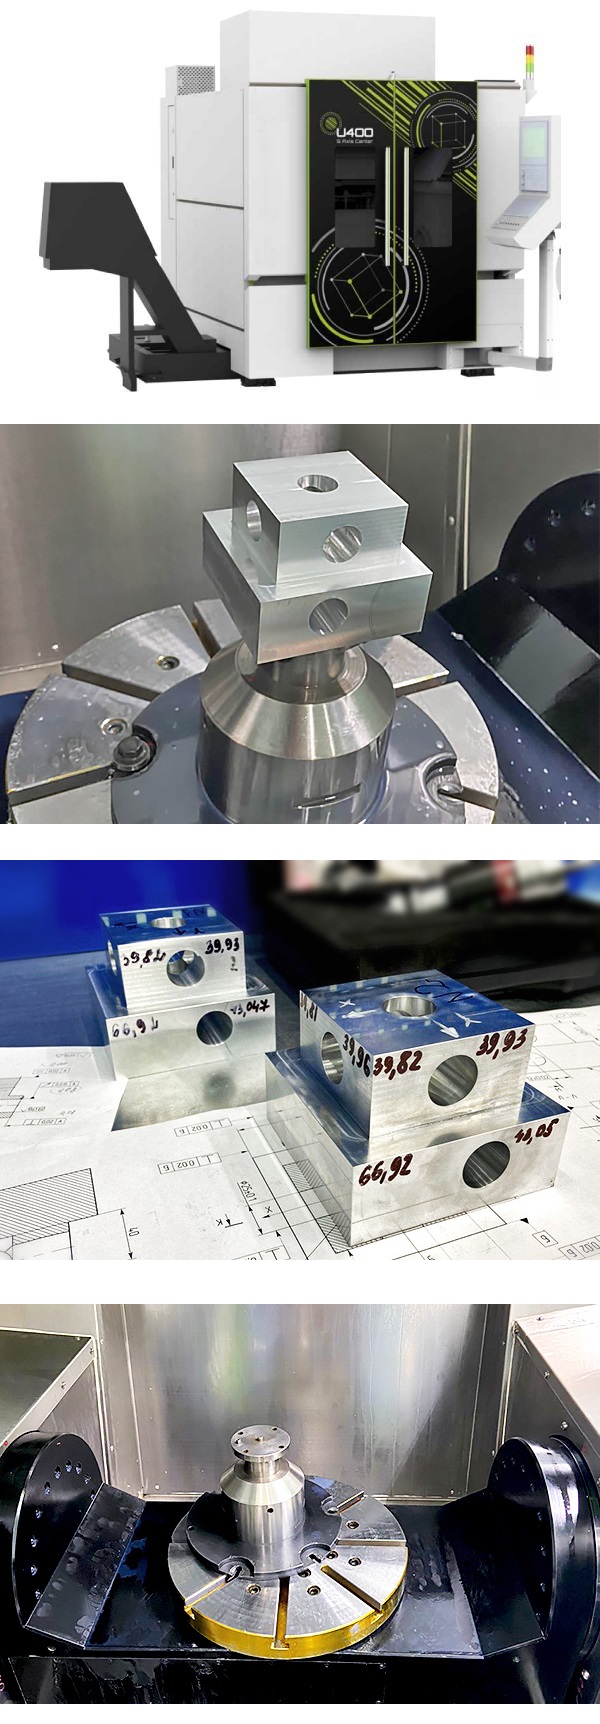
The customer designed test parts with accurate surfaces similar to those of the part to be manufactured in the machine. It was necessary to machine the surfaces and drill holes from two sides with high accuracy, using all the tilt-rotary axes of the machine. It was essential to ensure not only the highest precision of positioning and linear movements, but also repeatability of machining.
The challenge was to make the machine work with more precision than the manufacturer had envisaged; namely, 15 micrometres for the finished surface.
The implementation project lasted for three weeks. Much of the time was taken by adjustments and corrections as well as by waiting for the coordinate measuring machine, because the measurements are critical, using not just points on the surface, but point clouds. That makes it possible to take absolutely all the measurements of the part, incl. alignment, cylindricity deviation a. o.
The first step was to set up the machine. At first, the maintenance people set it with maximum precision, to fit the rated values. Then the programming engineer set the machine turning point.
In the second step, machining was started. The customer requested several type parts to be manufactured with different arrangements on the worktable: one in the table centre and three at the sides. That was done to check the accuracy not only in the middle of the table, but also in the corners in case a large-sized part is to be machined.
After the machining, the first part was sent to the coordinate measuring machine, which discovered an error necessitating some corrections in the machine settings. The machining of the other parts, both in the centre and at the sides, showed good accuracy. The customer's drawing stated the tolerance of 15 μm; our specialists, however, managed to achieve the accuracy of 11 μm, proving once again that they are real experts in mechanical engineering solutions. This is of especial value in the context of limited choice of equipment in the present-day realities.

